The post assumes at least a basic knowledge of Angular. Angular is a very opinionated framework so make sure you have some experience with Angular before following the instructions presented below.
Logentries can integrate into whatever Javascript framework you want to use. Previously, we examined adding Logentries to a React application. This post will illustrate how to add Logentries to your Angular v1 application using a Provider. Angular v1’s Provider architecture provides a robust and modular way to add functionality to your Angular applications.
The Angular Provider architecture is one of Angular v1’s great fixtures. The documentation for Providers is located here. Providers are self-contained objects that are injected into and used inside Angular applications. They are the building blocks of most Angular applications and enforce a modular structure that promotes reuse and clean code. There are a few types of Providers; we are going to use the Factory type.
An Angular Factory is a custom object created using the Angular factory method. Passing a factory into your Angular module through the injection process will make your custom object accessible inside the module. Usually, the Factory is used to create an object that is created only once, and returns a shared object. The Logentries client side service fits nicely with the Factory pattern since it also functions as a shared resource. The bulk of the code used in the factory is to initialize the Logentries object. Once initialized, the Factory exposes the Logentries object.
Let’s start by looking at index.html:
<body ng-app="LeAngularSample">
<selection></selection>
<script src="vendor/angular.min.js"></script>
<script src="vendor/le.min.js"></script>
<script src="LogEntriesFactory.js"></script>
<script src="app.js"></script>
</body>
The ng-app tag identifies the main module Angular is loading into the body. The LeAngularSample is the sample module being used to illustrate the library. LogEntriesFactory.js introduces the Logentries library. The code in app.js injects and uses the Logentries code, and inserts the UI component of the sample into the custom “” tag. The remaining tags add the necessary javascript libraries.
The index.html is the opening page. Let’s look at the script files being imported, starting with the LogEntriesFactory.js file:
angular.module('LogEntries',[])
.factory('LoggerFactory', function (){
  var opts = {};
  opts.token = '1234_fake_token';
  LE.init(opts);
  return LE;
})
The code starts by creating a new Angular module called “LogEntries.” This module is an independent Angular module capable of being used anywhere. This file could be lifted from this application as is and inserted into any application.
The module creates an object called the LoggerFactory. The LoggerFactory is used in the code to interact with the Logentries object. The LoggerFactory starts up, sets the Logentries token, initializes the object per Logentries documentation, and returns the prepared Logentries object.
The other script file houses the directive. The directive looks like this:
angular.module('LeAngularSample', ['LogEntries'])
.directive('selection', function (){
  return {
    restrict: 'E',
    transclude: true,
    scope: {},
    templateUrl: 'template.html',
    controller: function ($scope, LoggerFactory){
      $scope.sendError = function (msg){
        LoggerFactory.error('Error: ' + msg);
      };
      $scope.sendWarn = function (msg){
        LoggerFactory.warn('Warn: ' + msg);
      };
      $scope.sendInfo = function (msg){
        LoggerFactory.info('Info: ' + msg);
      };
      $scope.sendLog = function (msg){
        LoggerFactory.log('Log: ' + msg);
      };
    }
  }
})
The directive is Angular’s mechanism for creating UI elements. Our directive replaces the tag with the contents of the HTML in the template.html file (shown below). The pieces of the code that are most interesting for our purposes are the:
-
Injector – angular.module(‘LeAngularSample’, [‘LogEntries’])
LogEntries is the name of the module that contains the LoggerFactory. This line tells Angular to include the LogEntries module into the LeAngularSample module and to make the components of the LogEntries module accessible. -
templateUrl – templateUrl: ‘template.html’******
******Angular replaces the selection tag with the contents of the template file at the templateUrl -
controller – controller: function ($scope, LoggerFactory){
The controller includes code invoked by the members of the selection directive. Notice the functions in the controller are called in the ng-click of the template. Each link from the template will invoke its counterpart function from the controller. The LoggerFactory can be included since the module was injected above. It is in the controller function parameters so it can be used in the controller’s code.
The template html file looks like this (with some text removed):
<div>….</div>
<div style= "display: flex; flex-direction: column; width:200px">
  <a href="#" ng-click="sendError('Oops')">Submit Error</a>
  <a href="#" ng-click="sendWarn('Warning!')">Submit Warning</a>
  <a href="#" ng-click="sendInfo('Info')">Submit Info</a>
  <a href="#" ng-click="sendLog('Logging')">Submit Log</a>
  </div>
</div>
Notice the four lines with ng-click. The ng-click commands are rendered as click events. The four functions correspond directly to the methods called out in the directive’s controller code. Angular will automatically tie the functions in the ng-click to the directive.
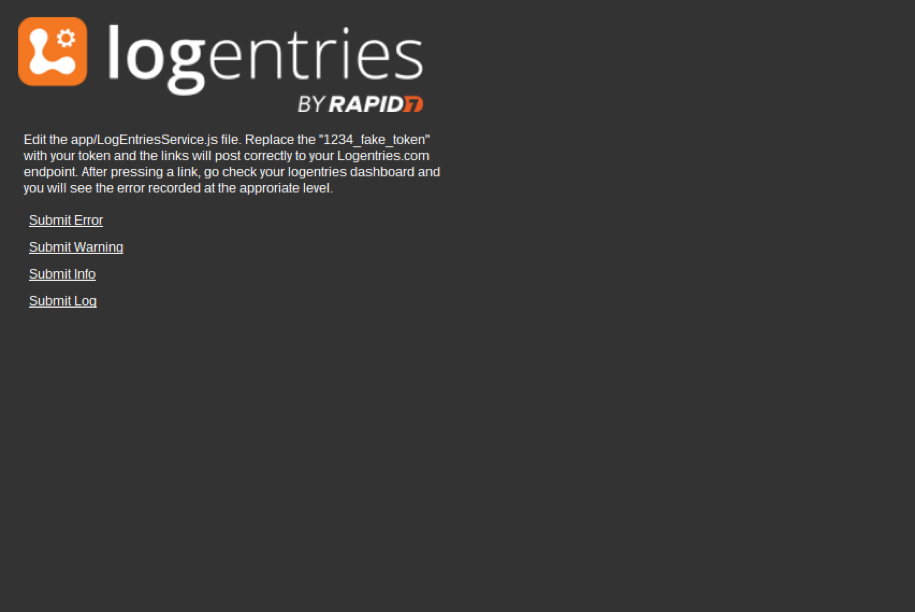
The sample comes with a node server set-up to display the page. The README has instructions on getting it started. Once up and running, the page should look like the picture below. Using any of these links will submit a log to your Logentries account with the corresponding type.

Tying Logentries to your Angular code is as simple as injecting a module. Feel free to take LogEntriesFactory.js and modify it to work in your Angular application. Including the Logentries client side library into your code is easy thanks to Angular’s injection and module components.
(The GitHub repo with the full sample can be found at https://github.com/LogentriesCommunity/Logentries-Angular-Sample)
